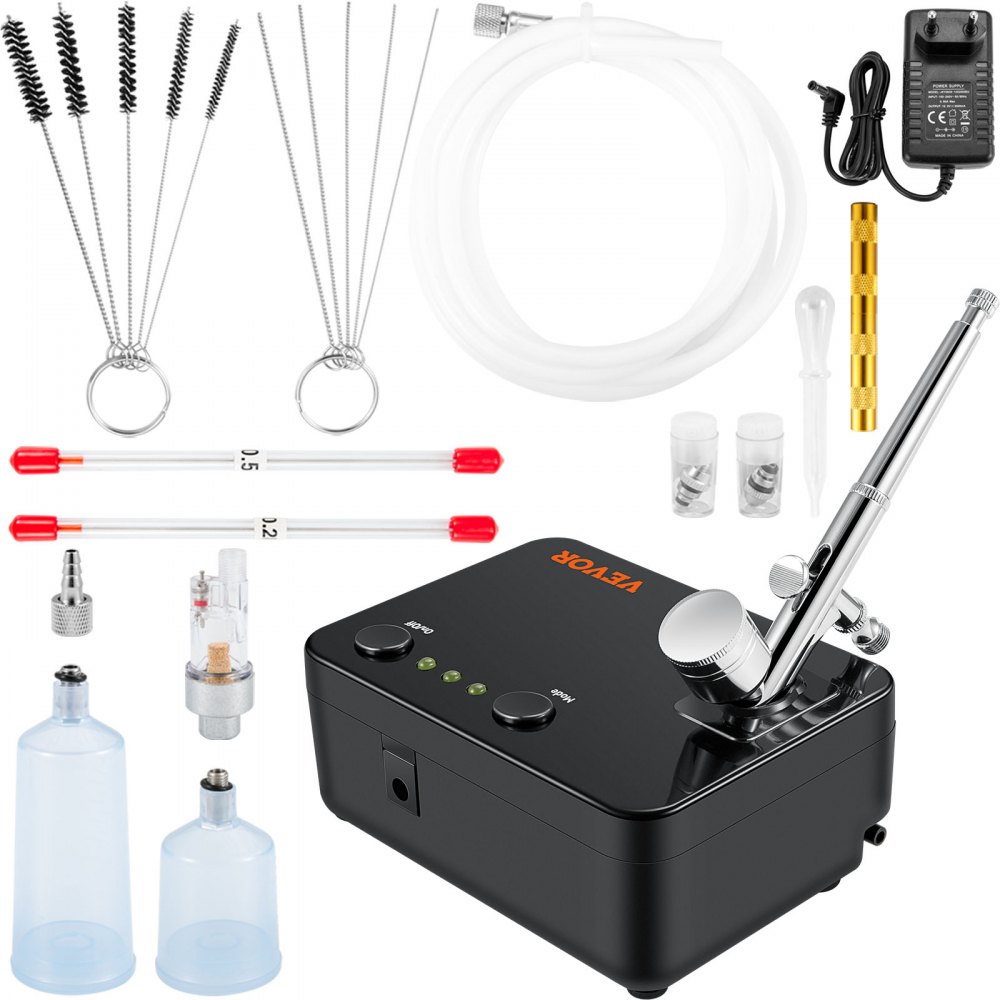
I built car and airplane models as a kid, and painted them either with a brush or the cans of paint in the garage. Then, this Christmas, my wife gave me a model of an early Bronco, just like the one in the driveway...except it was all white. I thought about using my car painting equipment, but the compressor disturbs the neighbors late at night, so I opted for a little set up. Turns out, you can spend about as much as you want for an air brush set up. $300 was the average at the local hobby and crafts stores. The model was $30, paints, thinners and cleaning kit was $90, and my budget for models was starting to rival the budget on the real one in the driveway. Another 300 for an airbrush would have been hard to justify. The compressor unit is quiet and has 3 pressure settings. The hose and water trap are easy to assemble and use. The parts were packed nicely and like the 300 dollar unit at the hobby store. The air brush it self feels like it should (although I didn't hold any in the stores that were over 50 bucks). The kit came with 3 different size nozzles. A few runs with different air pressures and thinners, and I was painting model parts like a guy who knows to paint model parts. EXCEPT FOR ONE THING.... I will give any thing with well written instructions a 4... If I didn't have working knowledge of spray guns, I would have made a mess, and not been able to change the nozzle size. REGARDLESS,


